I had so many comments on my Halloween door last year, I thought I’d share how I made it. Give you a little bit of inspiration to get your creative halloween juices flowing. And whilst I don’t really do fancy dress, this is my way of celebrating Halloween in a stylish but fun way! So here’s 5 fun and easy Halloween doors, which are incredibly simple to re-create.
PS. Even Willis liked them and that’s saying something. Smiling lots!
Right, I’ll stop waffling now and get on with the post.
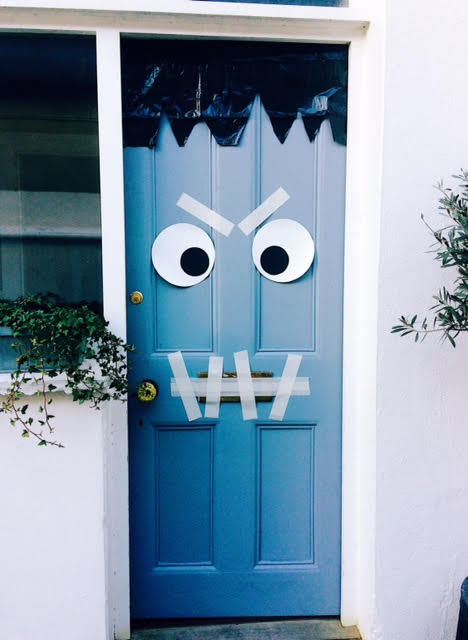
Can’t Speak – Monster Door
Materials:
- 1 x Black bin liner
- Masking tape
- Black card
- 2 x disposal white plates
- Use the bin liner to cut the hair line for your monster door. You can create any style you like, short back and sides, Mohican, square fringe, anything you want really. I went short on this one.
- Use masking tape to fix the bin liner to the top of the door.
- To make the eyes, cut out two circles from the black card. Stick the black pupils to the white plates and fix to your door (with masking tape).
- Finally, use masking tape to create eyebrows and cover the letter box with masking tape (as per photo). Note to self; do this part after the postman has been! Doh!
And voila that’s it! In total it probably took me about 15 minutes from start to finish. Seriously it’s that easy.

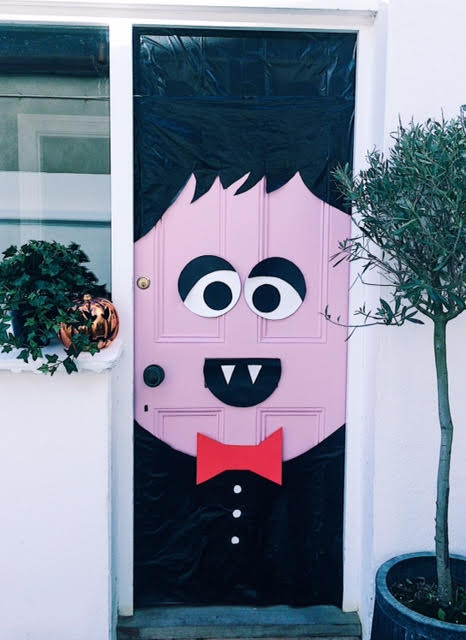
Frankenstein Door
Additional material: white card
- Make eyes and hair as above (different haircut).
- Using black card, cut out some stitches and stick onto the door.
- Use the remainder of black card to cover the letter box for the mouth.
- Finally, cut a small square out of white card and add to the letter box mouth as a tooth. Feel free to add as many teeth as you want.
*Note change in door colour (now pink). That’s another story for another time!
Dracula Door
Additional materials, white and red card
- Make eyes and hair as above (different haircut).
- Cut out the waistcoat by using another bin liner and stick to the bottom of the door.
- Use black card and cut out a mouth and eyebrows.
- Use red card to make a bow tie.
- Use white card to cut out the fangs.
- Finally, cut three circles out of the white card for the buttons and stick to the waistcoat. Stick all to the door using masking tape.
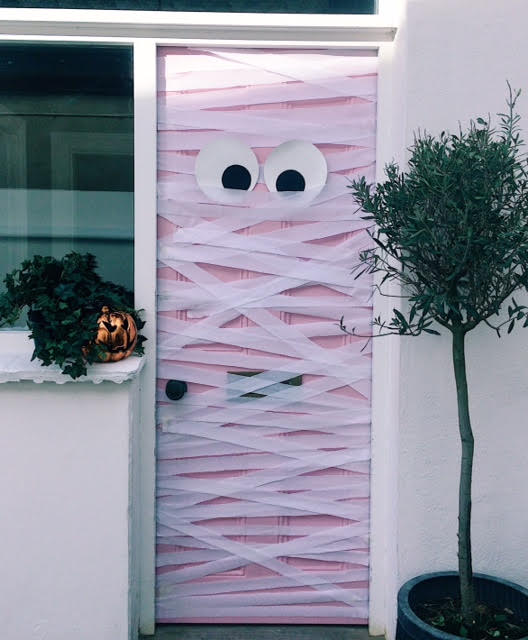
Mummy Door
Materials: White crepe paper
- Make eyes as above.
- Cover the door using the crepe paper to create bandages. Use masking tape to tape the crepe paper to both sides of the door.
- Finally, add the eyes (anywhere you like!)
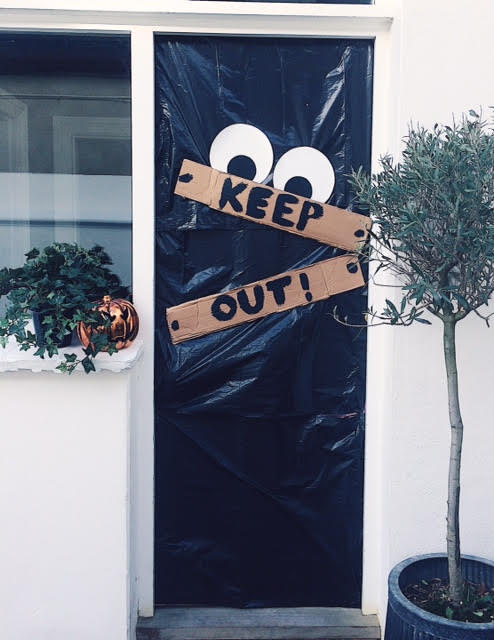
Keep Out Door
Additional materials: cardboard & black paint
- Make eyes as above
- Completely cover your door with black bins liners. I used 3. Secure with masking tape.
- Paint ‘Keep Out’ on 2 separate pieces of cardboard and fix to the door.
- Finally, add eyes anywhere you please.
So what do you think? Typical in our house but we all like different doors! I like the ‘Keep Out Door’, Willis likes the ‘Mummy Door’ and Z likes the ‘Blue Monster Door”. Roll on Halloween!
What’s your favourite? I’d love to know in the comments box below.
x